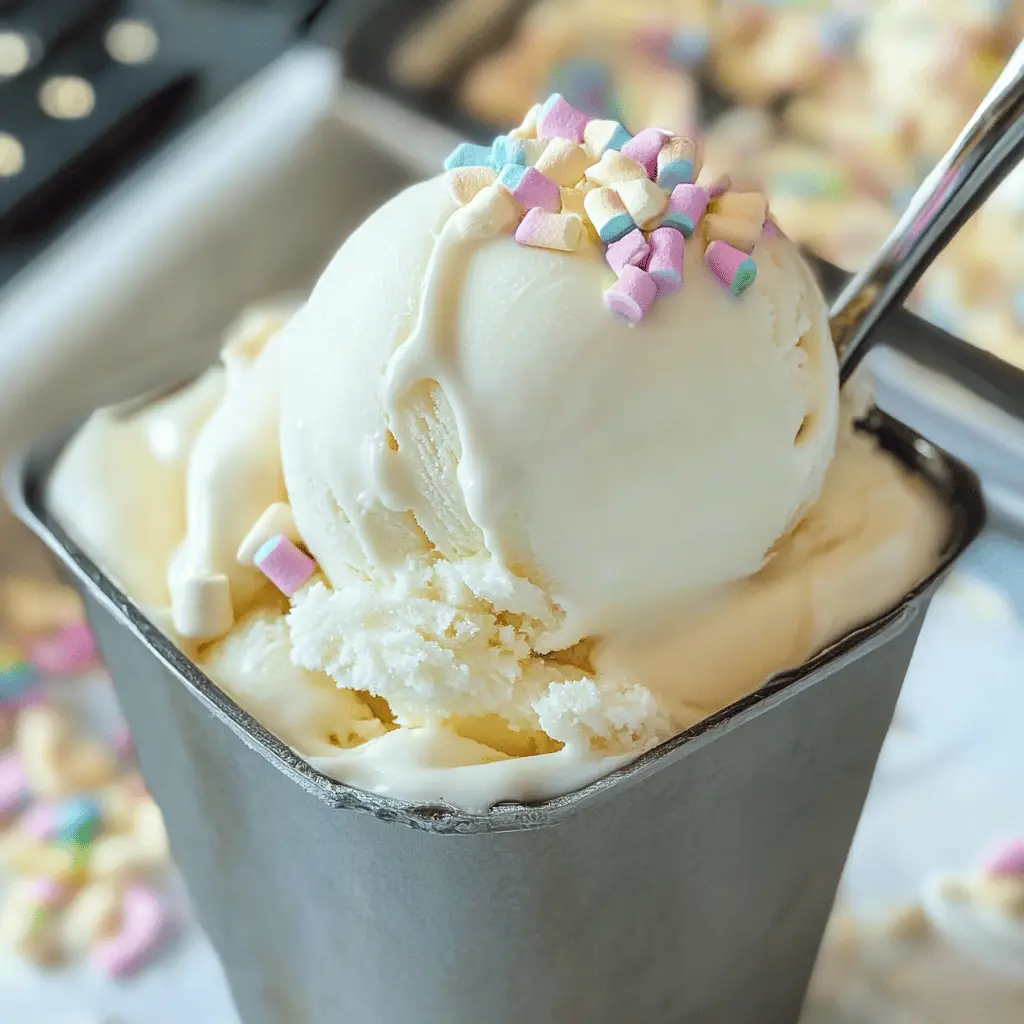
This Easy Marshmallow Ice Cream is a dreamy treat that’s super simple to whip up! With soft marshmallow goodness mixed in, it’s creamy and sweet, perfect for hot days.
Making this ice cream feels like magic! Just mix, freeze, and scoop. I often catch myself sneaking extra servings—you just can’t resist that fluffy sweetness! 😄
Key Ingredients & Substitutions
Heavy Whipping Cream: This ingredient gives the ice cream its rich creaminess. If you want a lighter version, you can substitute half with whole milk, but the texture won’t be as smooth.
Sweetened Condensed Milk: It’s essential for that luscious sweetness. If you’re looking for a dairy-free option, coconut milk can work, though it will alter the flavor a bit.
Mini Marshmallows: Toasting these adds a fantastic flavor! You could use regular marshmallows, but cut them into smaller pieces for even toasting. If you’re watching sugar intake, look for sugar-free varieties.
Waffle Cones: They add a nice crunch! If you prefer a gluten-free option, use gluten-free cones or serve in cups.
How Do I Toast Marshmallows Perfectly?
Toasting mini marshmallows well makes a big difference in flavor. Here’s how to do it right:
- Preheat your broiler and line a baking sheet with parchment paper.
- Spread the mini marshmallows in a single layer on the sheet.
- Broil them for 1-2 minutes, carefully watching, so they don’t burn.
- Once golden-brown, remove them and let them cool before mixing into the ice cream.
This quick toasting brings out that delicious, campfire-like flavor, making your ice cream a special treat!
How to Make Easy Toasted Marshmallow Ice Cream
Ingredients You’ll Need:
- 2 cups heavy whipping cream
- 1 (14 oz) can sweetened condensed milk
- 1 teaspoon vanilla extract
- 1 1/2 cups mini marshmallows (for toasting and mixing)
- Waffle cones (optional, for serving)
How Much Time Will You Need?
This delightful toasted marshmallow ice cream will take you about 10 minutes to prepare. After that, it will need to freeze for at least 6 hours or overnight to firm up completely. So, get ready to enjoy it soon after!
Step-by-Step Instructions:
1. Toast the Mini Marshmallows:
Begin by preheating your broiler. Then place the mini marshmallows on a baking sheet lined with parchment paper. Pop them under the broiler for 1-2 minutes until they turn golden brown. Keep a close eye on them to avoid burning! Once toasted, take them out and let them cool.
2. Whip the Cream:
In a large mixing bowl, pour in the heavy whipping cream. Use a hand mixer or a stand mixer to whip it until stiff peaks form. This means when you lift the mixer, the cream stands up without falling over.
3. Combine with Condensed Milk:
Gently fold the sweetened condensed milk and vanilla extract into the whipped cream using a spatula. Mix slowly and carefully to keep the airiness of the whipped cream.
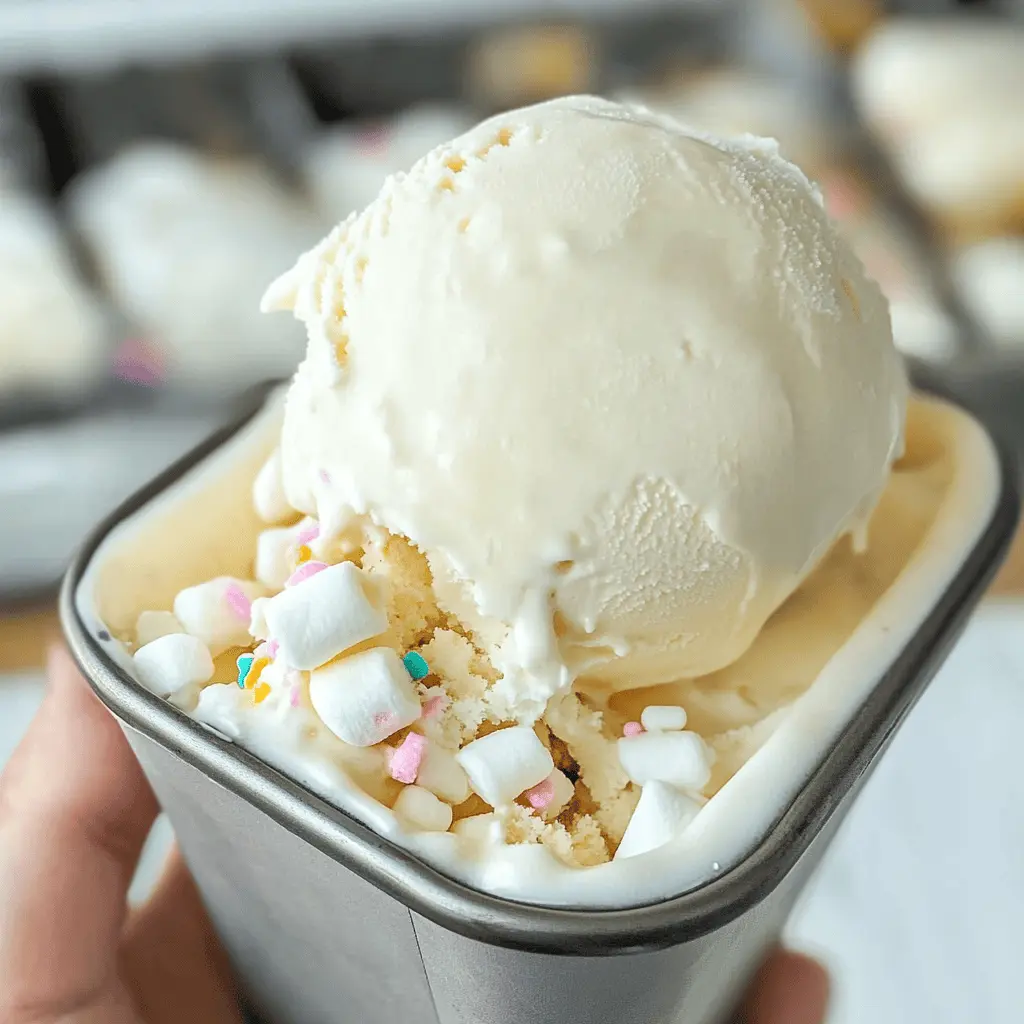
4. Add Toasted Marshmallows:
Take half of the toasted marshmallows and fold them into your creamy mixture. This will give your ice cream that delicious toasted flavor throughout!
5. Freeze the Mixture:
Transfer the ice cream mixture into a freezer-safe container. Make sure to cover it with a lid or plastic wrap to keep it fresh in the freezer.
6. Let It Firm Up:
Place the container in the freezer for at least 6 hours or preferably overnight. This will ensure it’s nice and firm when you’re ready to serve.
7. Serve and Enjoy:
When you’re ready to enjoy your homemade ice cream, scoop it into waffle cones or bowls. Don’t forget to top it off with the remaining toasted marshmallows for that extra marshmallowy goodness!
Indulge in your creamy, toasted marshmallow ice cream that’s incredibly easy to make and perfect for any sweet occasion! Enjoy! 🍦
Frequently Asked Questions
Can I Use Different Types of Cream?
Yes! While heavy whipping cream gives the best texture, you can use coconut cream for a dairy-free version. Keep in mind the flavor will change slightly, emphasizing coconut notes.
How to Store Leftover Ice Cream?
Store any leftover ice cream in an airtight container in the freezer. It should stay fresh for about 2-3 weeks. Just give it a few minutes at room temperature to soften before scooping!
Can I Make This Ice Cream Without a Mixer?
Yes, you can! While it’s easier with a mixer, you can whisk the cream by hand until stiff peaks form. It may take some time and effort, but it’s possible!
What Other Mix-Ins Can I Use?
Feel free to get creative! You can add chocolate chips, crushed graham crackers, or even fruit like strawberries for a different flavor twist. Just make sure the added ingredients are not too wet to keep the ice cream texture right!