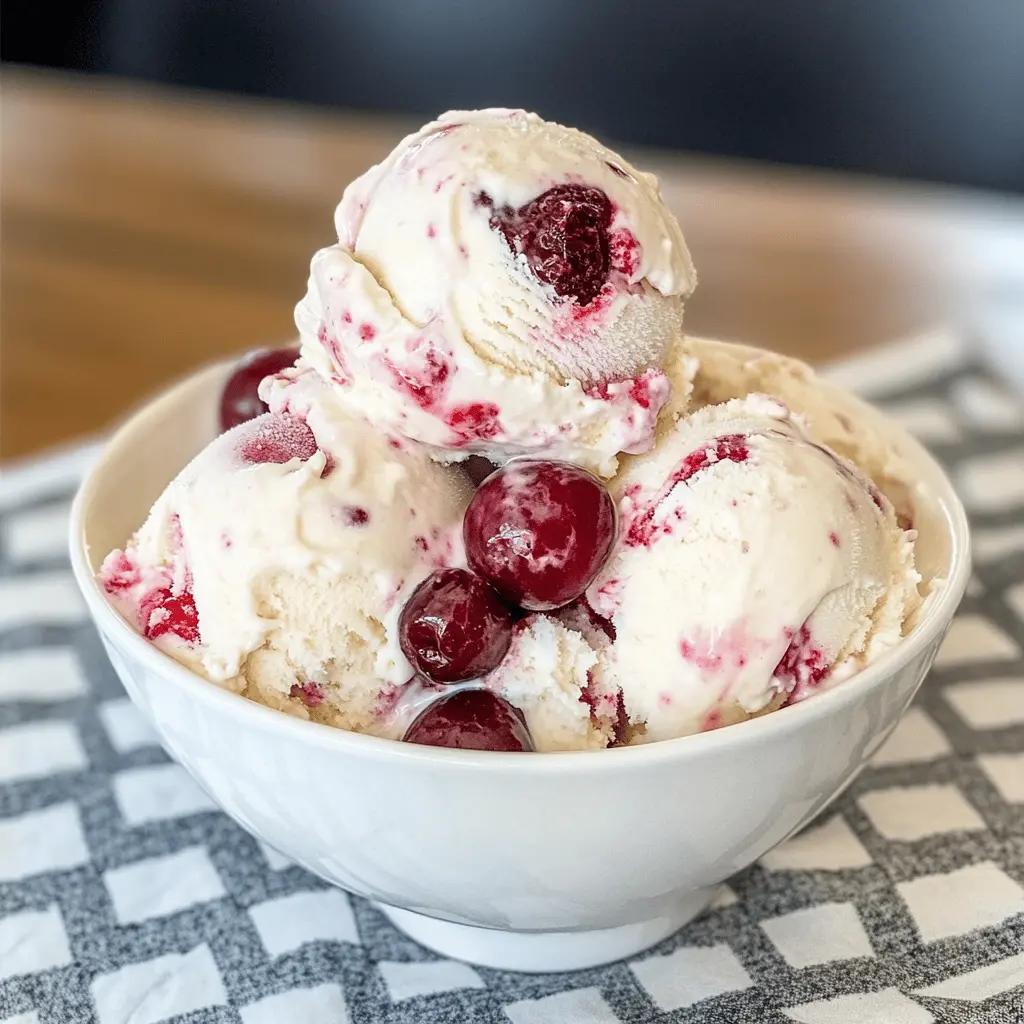
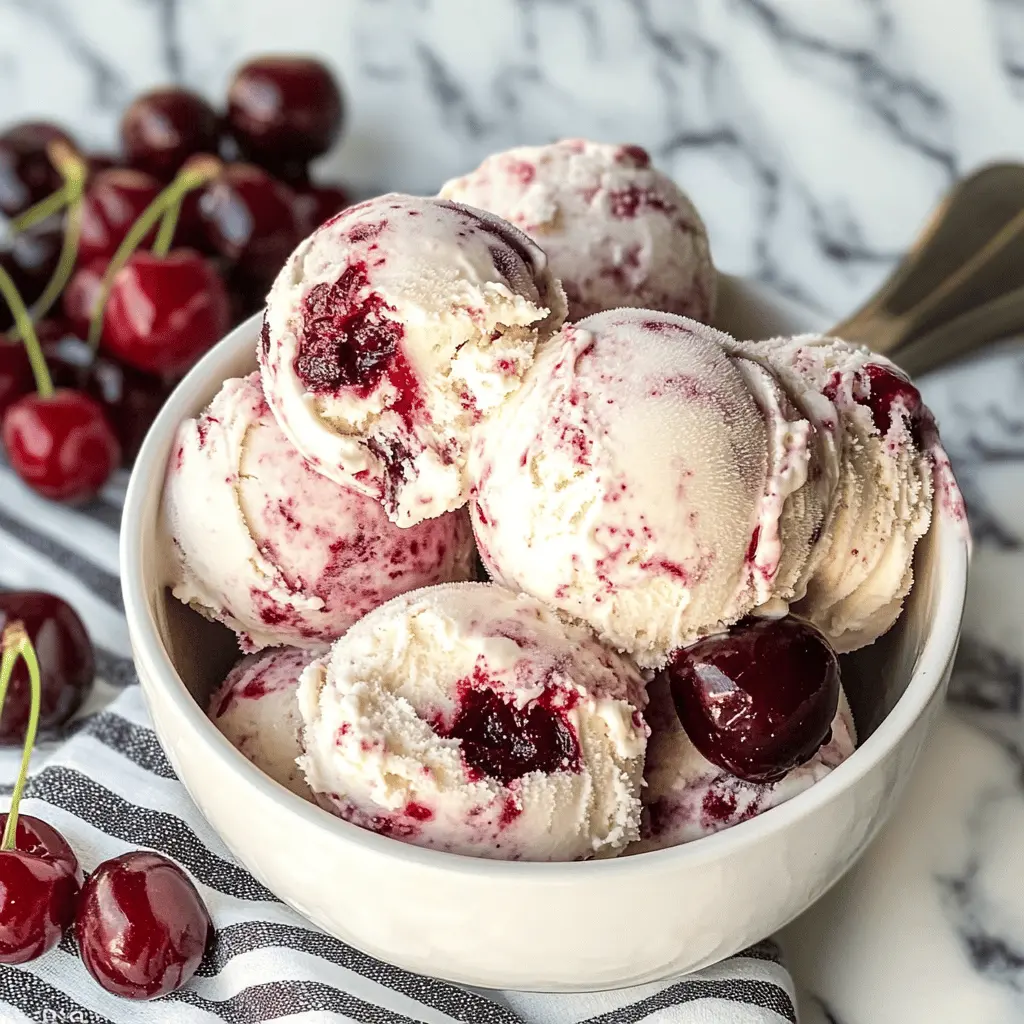
This Easy Homemade Cherry Vanilla Ice Cream is a sweet treat that you can whip up in no time! It’s creamy, full of real cherry pieces, and has a lovely vanilla flavor that everyone loves.
Making ice cream at home is such a fun and rewarding experience. Plus, I can’t resist sneaking a spoonful while it’s still soft! 🍒🍦 Trust me, it’s well worth the little bit of effort!
Key Ingredients & Substitutions
Heavy Whipping Cream: This gives the ice cream its creamy texture. For a lighter version, consider using half-and-half. If you’re dairy-free, coconut cream is a tasty substitute.
Whole Milk: You can swap this for 2% milk for slightly less creaminess. Almond or oat milk can work here too for a non-dairy option, but keep in mind it might change the flavor.
Granulated Sugar: Regular sugar is typical, but you can substitute with brown sugar for a deeper flavor. If you’re avoiding sugar, try using a sugar substitute or honey, but adjust the quantity since they can be sweeter.
Fresh Cherries: Fresh cherries are best for this recipe, but frozen cherries work just fine too! Just make sure to thaw and drain excess liquid before using.
Cherry Jam: This is optional, but it really adds a lovely swirl and flavor. You can use other types of fruit preserves like raspberry or strawberry if you want to mix it up.
How Do I Achieve a Smooth Texture in My Ice Cream?
Getting the perfect texture in homemade ice cream takes some care. Follow these steps to avoid icy results:
- Make sure all ingredients are very cold before mixing them together.
- Whisk the mixture well until the sugar dissolves completely. This helps with texture.
- Churn the ice cream in accordance with your maker’s instructions. Keeping an eye on it is important to avoid over-churning.
- After churning, remember to freeze the ice cream for several hours. This step is essential for firming it up.
By following these tips, your cherry vanilla ice cream will be smooth and creamy, just like from your favorite ice cream shop!
Easy Homemade Cherry Vanilla Ice Cream
Ingredients You’ll Need:
- 2 cups heavy whipping cream
- 1 cup whole milk
- 3/4 cup granulated sugar
- 1 tablespoon pure vanilla extract
- 1 1/2 cups fresh cherries, pitted and chopped (or thawed frozen cherries)
- 2 tablespoons cherry jam or preserves (optional, for intensified cherry swirls)
How Much Time Will You Need?
This recipe takes about 15 minutes of prep time. You’ll need an additional 20-25 minutes for churning, and then 2-4 hours to freeze the ice cream until it’s firm. So, all together, plan for around 2 to 4.5 hours to make and chill your delicious ice cream!
Step-by-Step Instructions:
1. Mix the Ice Cream Base:
In a large mixing bowl, combine the heavy whipping cream, whole milk, granulated sugar, and vanilla extract. Use a whisk to mix everything together until the sugar fully dissolves and the mixture is smooth. This step is crucial for a creamy texture!
2. Churn the Mixture:
Pour the creamy mixture into your ice cream maker. Follow the manufacturer’s instructions for churning, which usually takes around 20-25 minutes. You’ll want it to reach a soft-serve consistency, so keep an eye on it!
3. Prepare the Cherries:
While the ice cream is churning, chop your fresh cherries into small pieces. If you want to create a sweet cherry swirl, you can gently heat the cherry jam with the chopped cherries in a small saucepan until it becomes syrupy.
4. Combine Cherry Mixture with Ice Cream:
Once your ice cream is done churning, carefully fold in the chopped cherries or layer them into the mixture. If you’re using cherry jam, spoon in layers of the jam as you mix to create a beautiful ripple effect.
5. Freeze the Ice Cream:
Transfer the ice cream into an airtight container. Make sure you smooth the top for an even freeze. Pop it into the freezer and let it freeze for at least 2-4 hours, or until it’s firm.
6. Serve and Enjoy:
Your homemade cherry vanilla ice cream is ready to be enjoyed! Scoop it into bowls or cones and savor the delightful mix of creamy vanilla and fruity cherry flavors. Perfect for a warm day or any special occasion!
This recipe creates a dreamy, creamy cherry vanilla ice cream with vibrant red swirls and delicious cherry pieces throughout. Enjoy your homemade treat that’s sure to impress family and friends!
FAQ about Easy Homemade Cherry Vanilla Ice Cream
Can I Use Frozen Cherries Instead of Fresh?
Absolutely! If using frozen cherries, just make sure to thaw them and drain any excess liquid before mixing them into the ice cream. This will help maintain the texture and avoid icy bits.
How Long Can I Store Leftover Ice Cream?
You can store homemade cherry vanilla ice cream in an airtight container in the freezer for up to 2 weeks. Just be sure to let it sit at room temperature for a few minutes before scooping to make serving easier!
Can I Make This Ice Cream Without an Ice Cream Maker?
Yes, you can! After mixing the ingredients, pour the mixture into an airtight container and place it in the freezer. Stir the ice cream every 30-60 minutes for the first few hours to break up any ice crystals. This method takes a bit longer but still yields delicious results!
Can I Add Other Mix-Ins?
Of course! Feel free to get creative by adding chocolate chips, nuts, or other fruits like raspberries or strawberries. Just remember to chop them up to ensure a perfect mix throughout your ice cream.