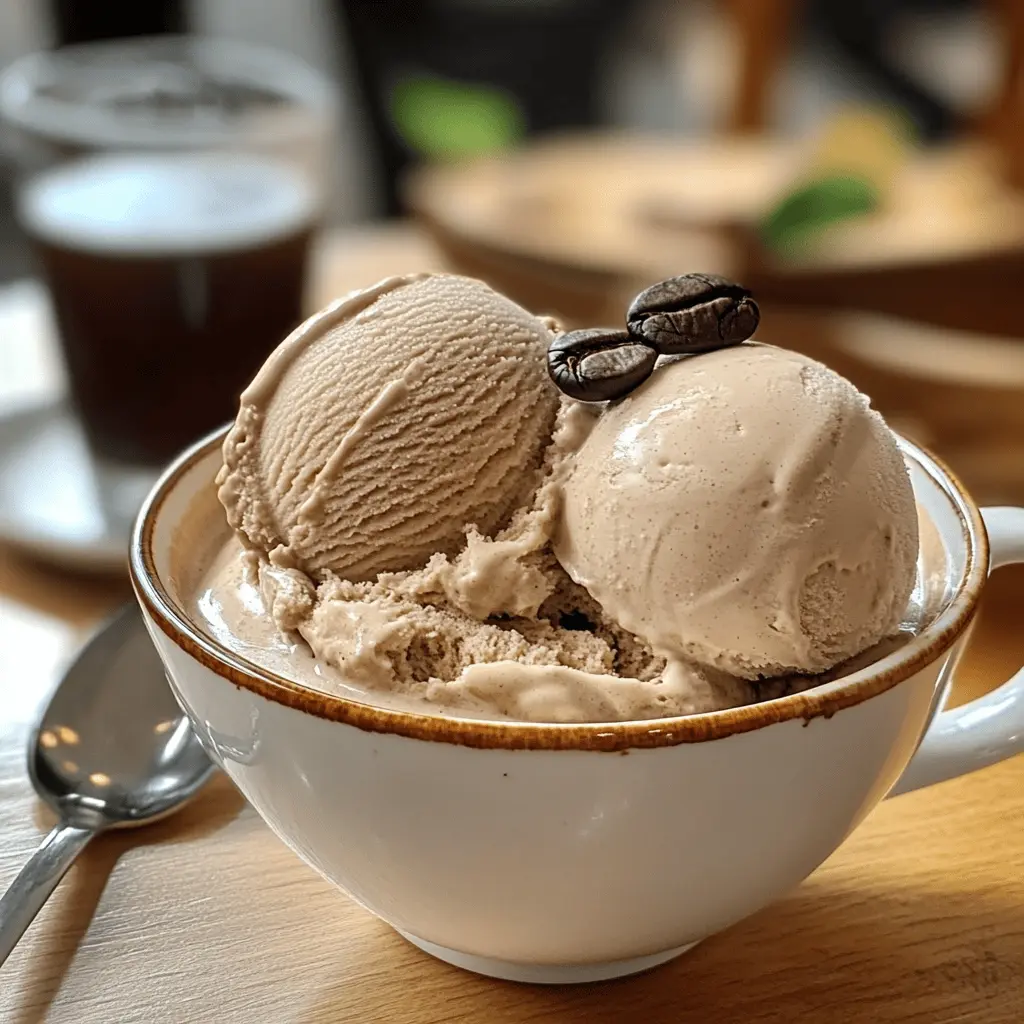
This creamy cappuccino ice cream brings the best of coffee and dessert together! It’s rich, smooth, and perfect for coffee lovers who crave something sweet.
Making this ice cream feels like a little treat for yourself, and trust me, it’s hard to stop at just one scoop. I like to top mine with whipped cream for an extra yummy touch!
Key Ingredients & Substitutions
Whole Milk: This is essential for creaminess, but you can substitute it with 2% milk or even almond milk for a lighter version. Just remember that using non-dairy milk may slightly change the texture.
Heavy Cream: A must for that rich and creamy texture! If you’re looking to lighten things up, you could try using half-and-half, but the ice cream won’t be as thick or rich.
Granulated Sugar: Standard sugar works well, but you can use brown sugar for a deeper flavor, or try a sugar substitute for a lower-calorie option. Keep in mind, sugar plays a role in texture, so check if your substitute is suitable for ice cream making.
Instant Espresso Powder: This gives that classic cappuccino taste. If you don’t have it, really strong brewed coffee can be used, but it may alter consistency. Try to reduce any extra liquid elsewhere in the recipe.
Egg Yolks: These add creaminess and a custard-like texture. You can substitute with cornstarch if you’re avoiding eggs, using about 2 tablespoons diluted in milk.
How Do I Prevent My Ice Cream from Being Icy?
To ensure your cappuccino ice cream is creamy and smooth rather than icy, focus on your cooking technique and chilling process:
- Make sure to cook the custard gently over low heat. Stir constantly to avoid any lumps or curdling.
- Cooling the custard completely is crucial. Aim for at least 4 hours in the fridge to develop flavor and texture.
- When using the ice cream maker, watch closely until it reaches that soft-serve consistency. Over-churning can also introduce too much air, leading to a grainy texture.
- Lastly, freezing in an airtight container helps prevent ice crystals from forming. Don’t leave it in the freezer too long without serving!
How to Make Creamy Cappuccino Ice Cream
Ingredients You’ll Need:
Base Ingredients:
- 1 cup whole milk
- 2 cups heavy cream
- 3/4 cup granulated sugar
- 1/4 cup instant espresso powder
- 5 large egg yolks
- 1 teaspoon pure vanilla extract
- 1/4 teaspoon salt
Optional Garnish:
- Whole coffee beans
- Fresh mint leaves
How Much Time Will You Need?
This recipe takes about 15-20 minutes to prepare and cook. After that, you’ll need at least 4 hours in the fridge to chill the mixture and an additional 2 hours to firm up in the freezer before serving. So, plan for around 6-7 hours total from start to finish, but the wait is definitely worth it!
Step-by-Step Instructions:
1. Combine the Base Ingredients:
In a medium saucepan, mix together the whole milk, heavy cream, and granulated sugar. Turn the heat to medium and stir until the sugar is completely dissolved and the mixture is hot, but be careful not to let it boil.
2. Dissolve the Espresso Powder:
Once the milk mixture is hot, stir in the instant espresso powder until it’s fully dissolved. Then, take the saucepan off the heat and set it aside.
3. Whisk the Egg Yolks:
In a separate bowl, whisk the egg yolks until they are smooth and creamy. This will help create a rich texture in your ice cream.
4. Temper the Eggs:
Slowly pour about 1 cup of the hot milk mixture into the egg yolks while whisking constantly. This helps gradually warm up the yolks so they don’t cook too quickly, which prevents curdling.
5. Combine Everything Back:
Pour the egg mixture back into the saucepan with the remaining hot coffee mixture. Stir well to combine.
6. Cook the Custard:
Heat the mixture over low heat, stirring constantly, until it thickens and coats the back of a spoon. You’re aiming for a temperature of about 170°F (77°C). Make sure not to let it boil, as that can ruin the texture!
7. Add Flavorings:
Once thickened, remove the saucepan from the heat and stir in the vanilla extract and salt. These flavors will enhance your ice cream.
8. Strain the Mixture:
To ensure a silky smooth ice cream, strain the custard through a fine mesh sieve into a clean bowl. This step removes any bits of cooked egg.
9. Cool the Custard:
Allow the custard to cool to room temperature. Once it’s cooled, cover the bowl and put it in the refrigerator for at least 4 hours, or overnight, until it’s completely chilled.
10. Churn the Ice Cream:
Once the mix is chilled, pour it into your ice cream maker and churn according to the manufacturer’s instructions. Churn until it reaches a soft-serve consistency.
11. Firm Up in the Freezer:
Transfer the ice cream into a lidded container and place it in the freezer for at least 2 hours to firm up further.
12. Serve and Enjoy:
When you’re ready to enjoy, scoop the creamy cappuccino ice cream into bowls. For a nice touch, garnish each bowl with coffee beans and a fresh mint leaf. Dig in and enjoy the deliciousness!
Enjoy your smooth, coffee-infused treat!
FAQ for Creamy Cappuccino Ice Cream Recipe
Can I Use Regular Coffee Instead of Instant Espresso Powder?
Yes, you can use brewed coffee, but to keep the flavors strong, use a concentrated brew. Just make sure to reduce other liquids in the recipe slightly to maintain the right texture.
How Can I Adjust the Sweetness of This Ice Cream?
If you prefer a less sweet ice cream, you can reduce the granulated sugar to 1/2 cup without significantly affecting the texture. Taste the custard mixture before freezing to ensure it’s to your liking!
Can I Make This Recipe Dairy-Free?
Absolutely! Substitute the whole milk with almond, coconut, or any plant-based milk, and use coconut cream instead of heavy cream. Just keep in mind that textures will vary slightly, but it will still be delicious!
How Do I Store Leftover Ice Cream?
Store any leftover ice cream in an airtight container in the freezer for up to 2 weeks. To avoid ice crystals, press plastic wrap directly against the surface of the ice cream before sealing the container.