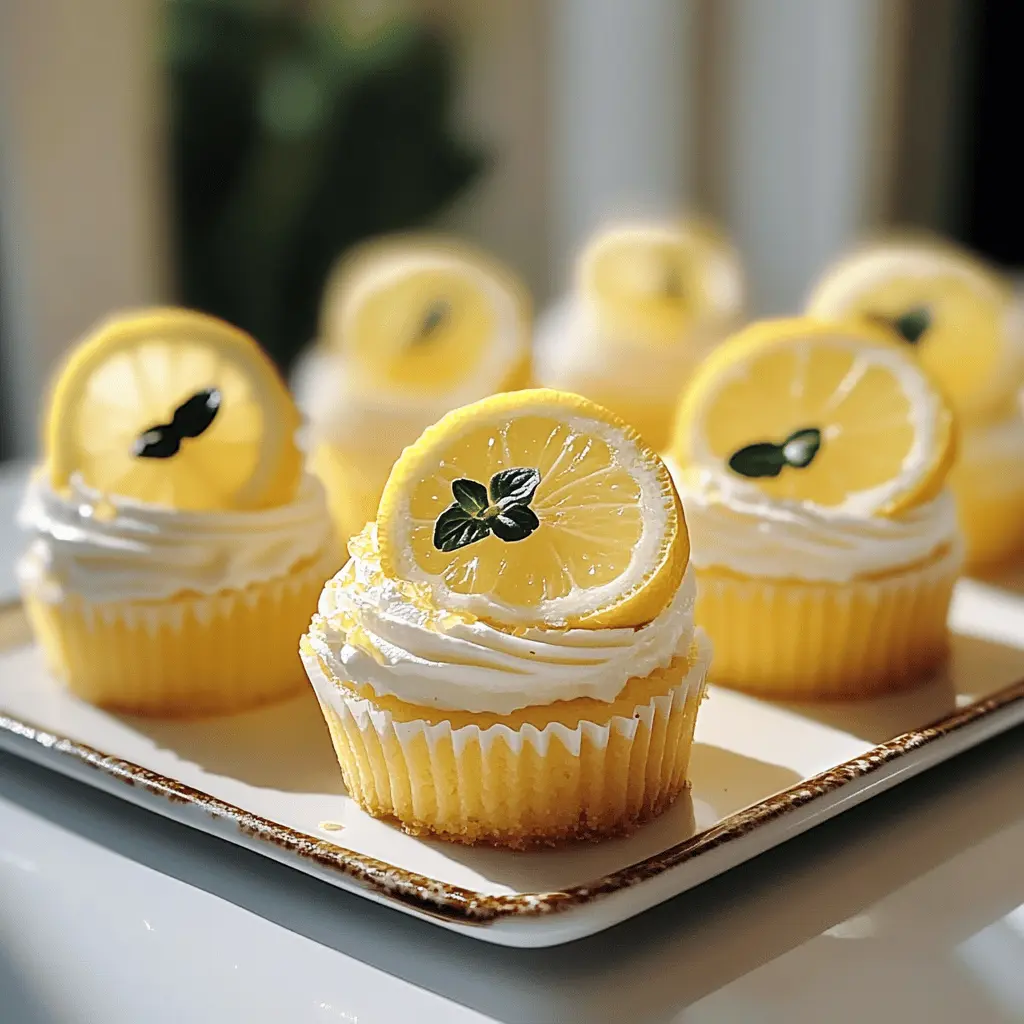
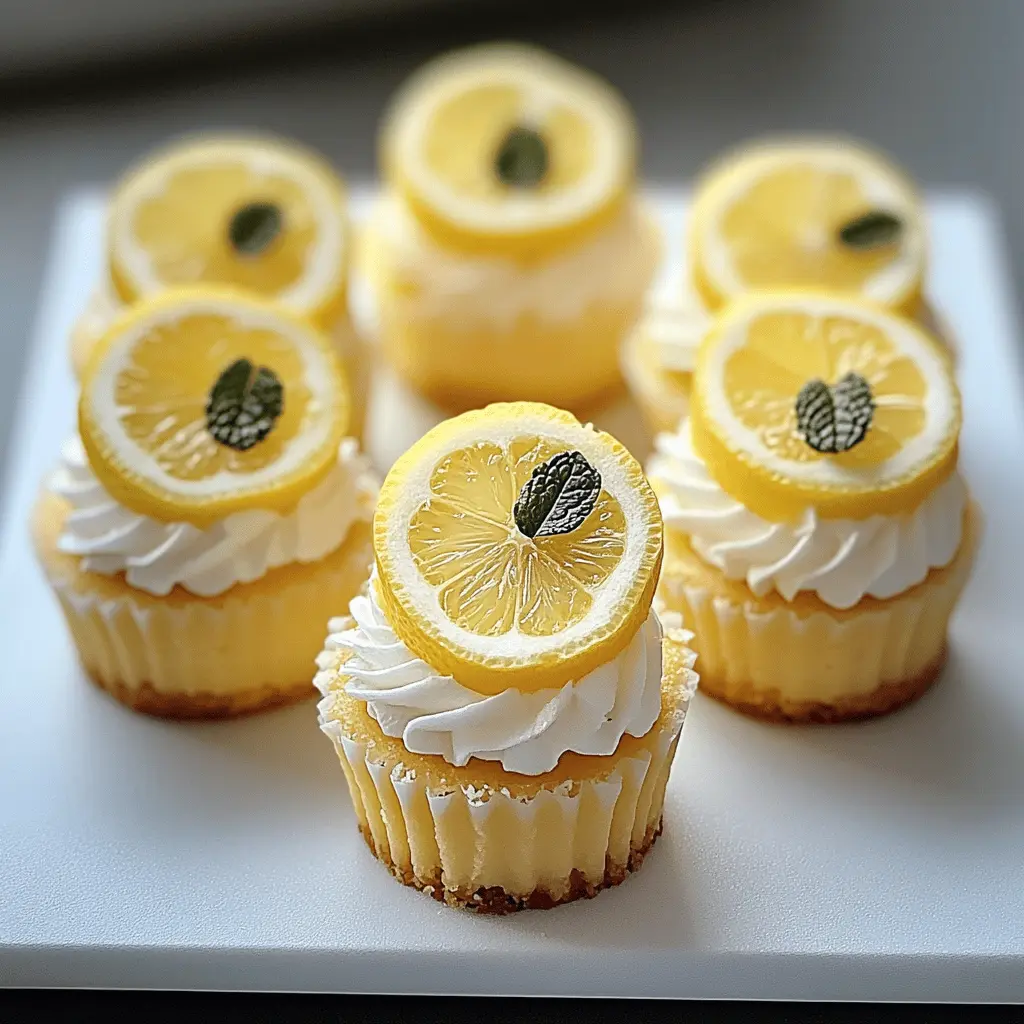
These mini lemon cheesecakes pack a zesty punch in a cute, bite-sized form! Made with creamy cheese and fresh lemon, they’re perfect for any sweet tooth craving.
They’re super easy to whip up and always impress guests. Plus, who can resist that refreshing lemon flavor? I love serving these at parties—they disappear fast! 🍋
Key Ingredients & Substitutions
Graham Cracker Crumbs: These create a delicious crust. If you’re looking for a gluten-free option, you can use crushed gluten-free cookies or almond flour. I find that combining these also gives a nice flavor.
Cream Cheese: Choose full-fat cream cheese for the best taste and texture. For a lighter version, you could try Neufchâtel cheese, which has less fat but still works well. I’ve even mixed half with ricotta for a different twist!
Gelatin: This ingredient helps the cheesecakes set properly. If you prefer a vegetarian option, look for agar-agar as a substitute. Just remember to follow the package instructions since it may require different handling.
Lemon Juice and Zest: Fresh lemon juice and zest give a bright, zesty flavor. If you don’t have fresh lemons, lemonade concentrate can work in a pinch, but it will change the flavor profile. I recommend sticking with fresh for the best results!
How Do I Get the Cheesecakes to Set Just Right?
Setting the mini cheesecakes perfectly is key to their dreamy texture. Here’s how to do it:
- After mixing your filling, spoon it into the chilled crust and make sure it’s level. This ensures even setting.
- Chill them for at least an hour after adding the filling, then top with lemon curd. Don’t rush this part; the chilling time helps them hold their shape.
- Let them sit for an additional 30 minutes after adding the curd to firm up. A tip: If you see any bubbles forming, gently tap the mold to release them before chilling!
With these tips, your mini lemon cheesecakes will be deliciously creamy and fluffy every time. Enjoy! 🍰🍋
Easy Mini Lemon Cheesecakes
Ingredients:
For the Crust:
- 1 cup graham cracker crumbs
- 3 tbsp melted unsalted butter
- 2 tbsp granulated sugar
For the Cheesecake Filling:
- 8 oz cream cheese, softened
- 1/4 cup granulated sugar
- 1 tsp vanilla extract
- 2 tbsp fresh lemon juice
- 1 tbsp lemon zest
- 1 packet (about 2 tsp) unflavored gelatin or 1 envelope gelatin powder
- 3 tbsp water (to bloom gelatin)
For the Topping:
- 1 cup heavy whipping cream
- 1/2 cup lemon curd (store-bought or homemade)
- Whipped cream for topping
- Lemon slices for garnish
- Optional: poppy seeds or finely chopped herbs (e.g., thyme) for garnish
Time Needed:
This recipe takes about 30 minutes of active preparation time. After assembling, you’ll need at least 1 hour to chill and set the cheesecakes in the refrigerator, plus another 30 minutes after adding the lemon curd. In total, plan for about 2 hours before serving!
Step-by-Step Instructions:
1. Prepare the Crust:
In a medium bowl, mix the graham cracker crumbs, melted butter, and 2 tablespoons of sugar together until the crumbs are well coated. Press this mixture firmly into the bottom of small silicone muffin molds or mini cheesecake pans to create a crust. Place the molds in the refrigerator while you make the filling.
2. Bloom the Gelatin:
In a small bowl, sprinkle the gelatin over 3 tablespoons of cold water and let it sit for about 5 minutes to absorb the water and become soft.
3. Make the Cheesecake Filling:
In a large bowl, beat the softened cream cheese with 1/4 cup sugar and vanilla extract using a hand mixer until smooth and creamy. Heat the bloomed gelatin in the microwave for about 15 seconds until melted, then slowly add it to the cream cheese mixture while continuing to beat, ensuring everything is combined well. Mix in the fresh lemon juice and lemon zest until fully incorporated.
4. Whip the Heavy Cream:
In a separate bowl that’s chilled, whip the heavy cream until stiff peaks form. This adds lightness and fluffiness to your cheesecake filling. Gently fold the whipped cream into the lemon cream cheese mixture until no streaks remain. Be careful not to deflate the whipped cream!
5. Assemble the Mini Cheesecakes:
Spoon or pipe the lemon cheesecake filling over the chilled crusts in your molds, filling them about halfway. Smooth the tops if needed. Chill in the refrigerator for at least 1 hour to set.
6. Add the Lemon Curd Layer:
Once the cheesecakes are set, carefully spoon or pipe a layer of lemon curd over each cheesecake. This adds a delicious zestiness! Return to the refrigerator for another 30 minutes to firm up.
7. Final Touches Before Serving:
Right before you serve, add a dollop of whipped cream on top of each cheesecake. Garnish with a thin slice of lemon and a sprinkle of optional poppy seeds or fresh herbs for a lovely touch.
8. Enjoy!
Serve chilled and savor these delightful mini lemon cheesecakes with your family and friends!
FAQ for Easy Mini Lemon Cheesecakes
Can I Use a Different Type of Crust?
Absolutely! If you’re not a fan of graham crackers, you can use crushed cookies like Oreos, vanilla wafers, or even a nut-based crust. Just make sure to adjust the sugar depending on the sweetness of the cookies!
Can I Make These Cheesecakes Without Gelatin?
Yes, you can make these cheesecakes without gelatin by using ingredients like cornstarch or by simply chilling them longer to firm up. However, they may have a slightly different texture. If you want a no-bake alternative, consider using a commercial no-bake cheesecake filling instead!
How Do I Store Leftover Cheesecakes?
Leftover mini cheesecakes can be stored in an airtight container in the refrigerator for up to 3 days. Just remember to keep any toppings like whipped cream separate until you’re ready to serve them again!
Can I Freeze Mini Cheesecakes?
Yes, you can freeze the mini cheesecakes! Just make sure to wrap them tightly in plastic wrap and then place them in an airtight container. They can be frozen for up to 2 months. Thaw them in the refrigerator overnight before serving!